Large dimensions with small teeth

High concentration is required. Rejects when setting and running in parts is a normal process in almost every production: Call up the program, manufacture the part, measure, correct, manufacture a new part - until it fits. In the machining of large parts, this is different. Here, the machine operators carefully feel their way to the final dimension to be produced. Because rejects would be an extremely costly mistake with the large dimensions. In addition to the machining centers, a great deal of attention is also paid to the tools used. "We have to be able to rely on the tools," says the operations manager of W. Wolf GmbH from Kalchreuth, Klaus Trescher. Trescher and his team rely on precision tools from Paul Horn GmbH in Tübingen. The most recent project was the implementation of a gear milling process of a shaft from large engine construction.
The continuous improvement process plays a major role in Wolf's production halls. The goal, as with small components, is always complete machining with as few setups as possible. In this case, it is a DIN5480 spline with a tolerance class of 6. The production of the splines of a drive shaft had the potential for improvement. The shaft, which is almost 5,000 mm long and weighs around 600 kg, is used in large engine construction. The diameter is 200 mm. To ensure that all flanks of the spline are involved in the transmission of the force, this requires a high degree of manufacturing precision. However, the shaft and hub can be moved in the axial direction. The employees manufacture around ten pieces of the shaft per year. "We used to always outsource the production of the gearing to an external company. This meant another high cost factor and was at the expense of precision," says Trescher.
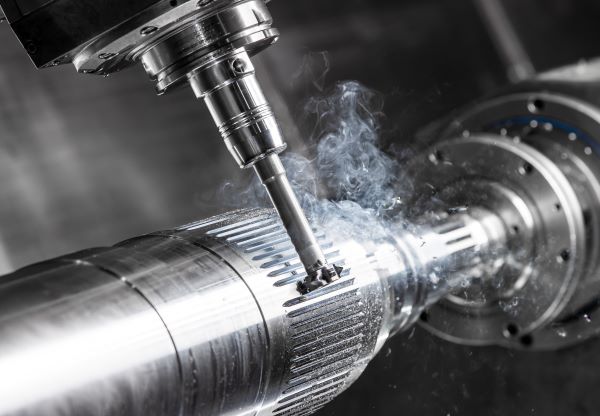
Roughing and finishing of the gear teeth is done with the same tool. The tool mills the individual teeth into the shaft with two infeeds in each case. The roughing cut has a depth of ap = 4 mm and is milled at a cutting speed of vc = 100 m/min. The finishing allowance is 0.1 mm. The finishing allowance for the last tenth to the finished dimension mills the tool at a cutting speed of vc = 140 m/min. The milling direction is up-cut. Despite the high cutting pressure due to the six teeth, the Horn tools have a high degree of stability. The six teeth offer better milling performance and the possibility to run higher feed rates.
"We are a lot better in terms of time and quality since milling the gearing. I would also like to emphasize the implementation of the new solution. From the first inquiry to the running process took four weeks," Trescher is positive and continues: "Horn's delivery times convince us. Other manufacturers need twelve weeks or longer for such special tools. The experienced Horn field service also plays a decisive role here."

