Mastering processes: high-polish-machining
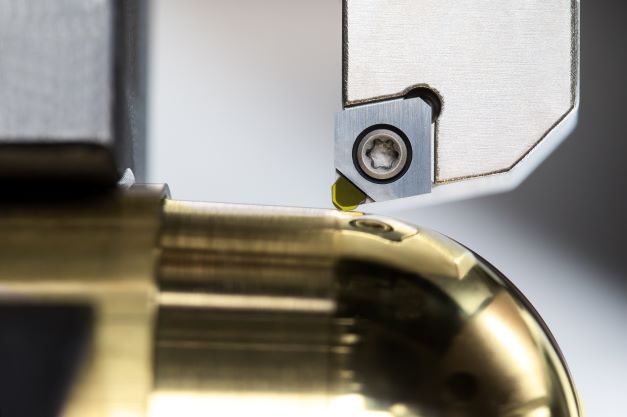
Mirror-finish surfaces and roughness to within nanometres. These are properties that can only be achieved with the process of ultra-precision machining or high-polish machining. Using the right precision tool with the appropriate grade ensures the perfect result. The surface produced is always a mirror image of the cutting edge of the tool. Thanks to its internal structure and hardness, only a cutting edge made of monocrystalline diamond (MCD) can be polished finely enough for an absolutely flawless surface to be produced during cutting. There are no computer-aided machines for perfect polishing of a flawless cutting edge. Only the expert touch and knowledge of specially trained employees can guarantee this high-polish result. The finishing of top-class tools is a purely manual task.
High-polish machining with MCD is one of the ultimate disciplines in the field of machining with geometrically defined cutting edges. Two hundredths of a millimetre of finishing allowance separate a very good surface from a perfect surface with mirror finish. The range of applications is broad and the manufacturing process is used in numerous industries. In the jewellery industry, the tools provide dazzling shine; for example, in the production of visible parts for quality wristwatches and most wedding rings. In the production of mirrors for space telescopes, the virtually perfectly accurate shape of the milled mirror surface guarantees a distortion-free view into space. Diamond-tipped tools have been used in the manufacture of almost every vision aid, from glasses to contact lenses. Another possible application is tool, model and mould making. This is an area where time-consuming and expensive polishing can be saved. The list goes on, not least in the medical sector, where these tool systems are firmly established.
For turning a wall-mounted tap prototype, a user was commissioned by a manufacturer of premium fittings to look into high-polish machining. The clean geometry and flat surfaces of the prototype design require machining with MCD. Irregularities in the surface and geometry would be visible through the subsequent chrome plating. Due to these quality requirements, polishing after machining was ruled out, as even slight irregularities in the surface would hugely affect the reflection of light from the chrome layer, which is only a few microns thick. The user did not have much time to find the best solution to this machining task. The difficulty in machining the brass casting was the long projection length of around 200 mm. Horn found a solution using an MCD-tipped ISO cutting insert. The surface finish required by the valve manufacturer's designers could then be achieved through strict quality control.
